Step 1: Adding new paddock/pasture, spray treatment or fertiliser product to your product inventory
Step 2: Recording paddock/pasture, spray, treatment or fertiliser
Step 3: View paddock/pasture, spray, treatment or fertiliser history report
There are various reasons that you may wish to enter a paddock/pasture event into MaiaGrazing.
-
seeding
fertilising
-
weed control,
-
slashing,
-
burning and many others.
Some events will require the application of products and some won't.
Events are recorded in the same way regardless of whether a product was applied or not.
Access the paddock/pasture treatment screen
-
Click on 'Operations'
-
Click on 'Land'
-
Click on 'Paddock/Pasture Treatment'.

-
Wait for the 'New Paddock/Pasture Treatment' screen to open.

-
Click into the data entry box under 'Start Date'.
-
Enter the date of the treatment event
-
Click into the data entry box under 'End Date'.
-
Enter the end date of the treatment event (OPTIONAL)
-
Click into the data entry box under 'Description'
-
Enter a description name for the event. (Hint: Make this description as specific as possible. For example "Grow Grass w/Nitrogen Treatment – Improved Pdks - July 2019". The more descriptive you can make this the easier this event will be to locate and identify in the future.)
-
Click on the blue writing for '+Add Paddocks/Pastures'
-
Wait for the pop up box to open.
-
Click on the name of the paddock/pasture to be treated. (To select multiple paddocks/pastures - hold down the control key on your key board and click on the names of the paddocks/pastures)
-
Click on the blue 'add' button.
(To select all paddocks/pastures - click on the blue writing that says "Select All Paddocks/pastures" )

Once you have selected your paddocks/pastures they will appear on a list at the bottom of the tab.
-
Check your list of selected paddocks
-
Change the areas for any paddocks/pastures not being treated completely.
Example: if you are recording the fact that you treated 5 hectares of a 10 hectare paddock/pasture you could type 5 into the data entry box. The number entered in this box will be used to calculate any treatments applied during this event but will not flow through to any other screens.

-
Click on the 'Treatment Details' button.
Entering Paddock/Pasture spray, treatment or fertiliser details
- If the product already exists in your product inventory, type the product name into the search by product name box. When the product becomes visible Click on 'Add' beside the product name.
- If the product does not exist in Maia, Click on 'Create a new Product' and create the new product record. Tips on naming and managing your product inventory can be found in Step 1: Adding new paddock/pasture, spray treatment or fertiliser product to your product inventory
- If there was no actual product applied, as when slashed, you can leave this screen blank, and Click on Application.

The details for the selected product will appear on the right-hand side of the screen. You can edit some of the details for the product here. MaiaGrazing will then calculate the amount of product needed and the cost for you from these details.

-
Click on the blue 'Application' button to move to the next tab.
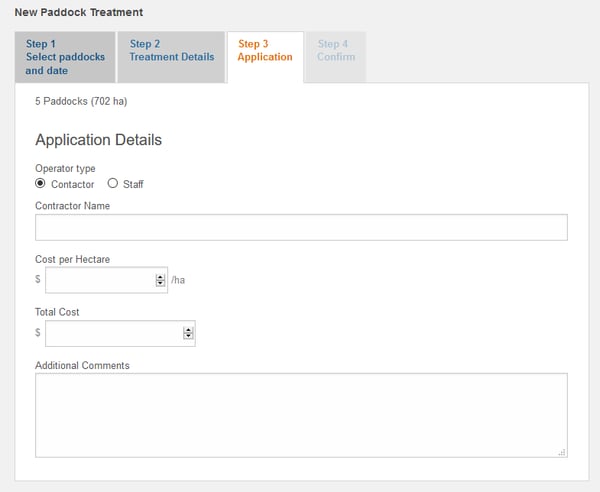
Entering Paddock/Pasture spray, treatment or fertiliser details
The application tab is optional. You can record:
-
who completed the event (contractor/staff member)
-
extra costs per area treated
-
notes and further details regarding the event being recorded
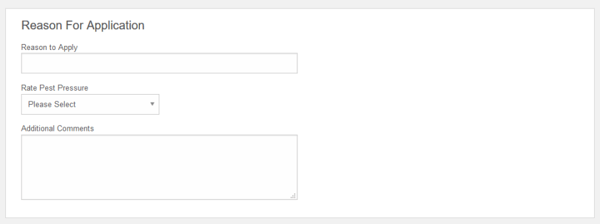
-
the reason for the event
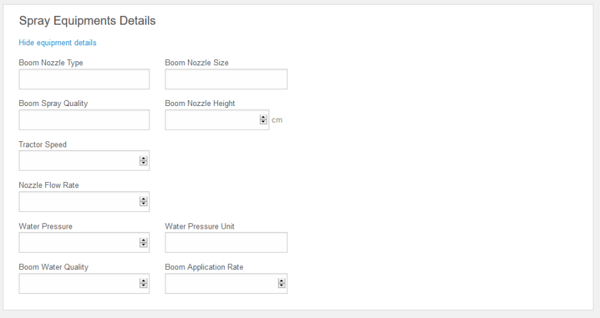
-
details of equipment used
-
weather records.
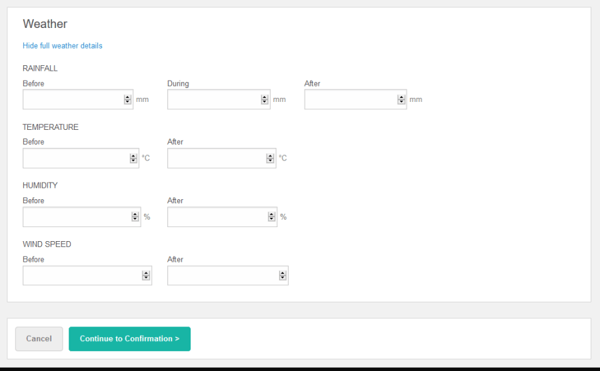
-
Click on the blue 'Continue to Confirmation' button when you are finished.
This will open the confirmation screen that will give a summary of the details recorded for the event.

-
Click on the blue 'Confirm and Save' button.